We’re excited to share the latest updates in Constructive 2025.2! This performance-boosting release comprises of saving builders time through a Sales Agent/ Building Partner/ Reseller and Property Manager self-serve functionality. User enhancements like adding intelligence reports to all users inside Constructive Admin pages (watch this space for more coming soon). Under the hood, we’ve done big improvements to 3D, we’ve improved how images are displayed in reports, and upgraded the back-end of how materials are mapped against objects. See the details below.
Your Constructive Software systems have now been automatically updated to the latest version.
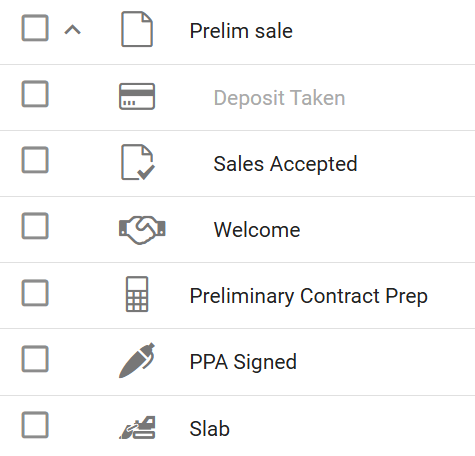
New Property Manager Role
Keeping the client experience front of mind, with investors and building partners, we are empowering builders to load Property Managers as a new role against the job which will facilitate them running the service and warranty section of the job on behalf of the clients, and allow a single Property Manager to manage many jobs at once.
This will reduce the inbound queries to the builder’s team from agents because agents can log in and see all of the jobs they are assigned to (via Job Contacts – like a sales agent). A Property Manager role can also switch between the jobs using the new ‘Select Job’ menu item. Property Managers can easily self-serve information by automatically receiving notifications instead of the client, viewing past photos, and progress information. They can also easily log maintenance defects, reducing delays and updating clients with real-time data.
Control remains in the hands of the builder as agents cannot see the majority of the documents or the Selections screen, they can only see documents in the following four categories; Warranty, Service & Warranty Information, Maintenance, and Maintenance Item Documents.
Bonus for clients: With this improved navigation, clients who have multiple jobs/builds can now easily search and locate jobs, eliminating time consuming scrolling in the old drop-down.
Important note: As soon as the Property Manager is assigned to the job, they will take over receiving the client updates (activity emails, defect notifications, surveys, etc).

Sales Agents ‘Select Job’ Navigation
We’ve added the ‘Select Job’ button to the Sales Agent view, bypassing the ‘Admin’ screens altogether – much easier.
3D Model Component Upgrade
We’ve streamlined how 3D models are structured by converting existing Dimension Types into Components. This makes working with models more efficient, especially in:
-
Materials Edit Screen
-
Model Editing Interface
Previously, each dimension type was treated separately in the 3D model. Now, those dimension types are grouped under unified components, improving performance and usability.
Previously, each dimension type was treated separately in the 3D model. Now, those dimension types are grouped under unified components, improving performance and usability.
Before:

This release:

Selectable Components via Selection Templates:
With this update, when using Selection Templates, you’ll now see which Component Category a dimension type belongs to.
For example: All dimension types related to the main Flooring, like (Flooring – Main, Flooring – Laminate, Flooring – Tiles, Flooring – Vinyl Plank, Flooring – Timber, Flooring – Vinyl, Flooring – Engineered Timber, Flooring – Hybrid, Floor Tile Visualiser, Flooring, Polished Concrete) will now be grouped under a single component called ‘Floor – Main’ in the 3D model.
This makes it easier to manage, filter, and interact with model elements.


Making changes to components in the Selections Template are LIVE changes for all 3D models. If you want to change these, we suggest you initially discuss this with your CSM/support team.
For a more detailed breakdown of the changes please see the support article linked here.
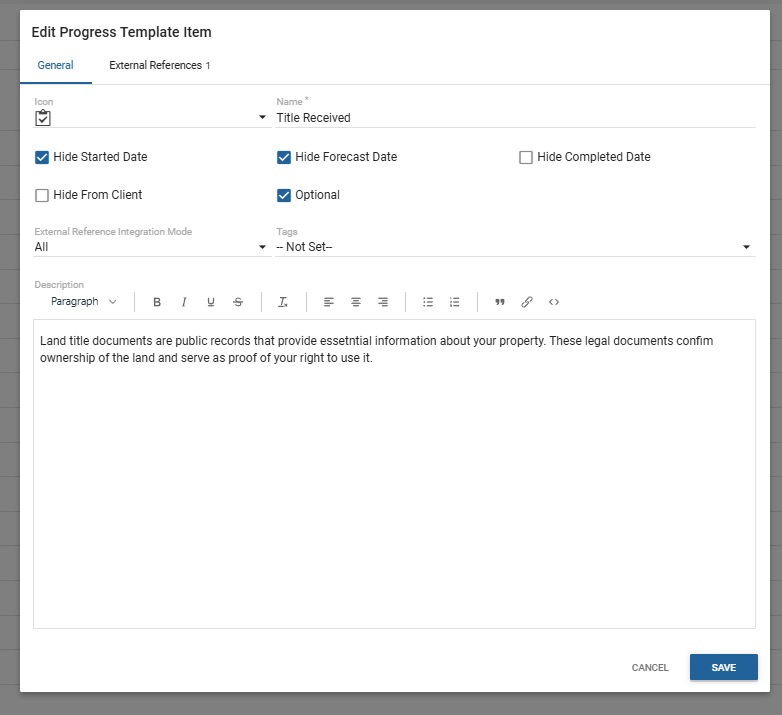
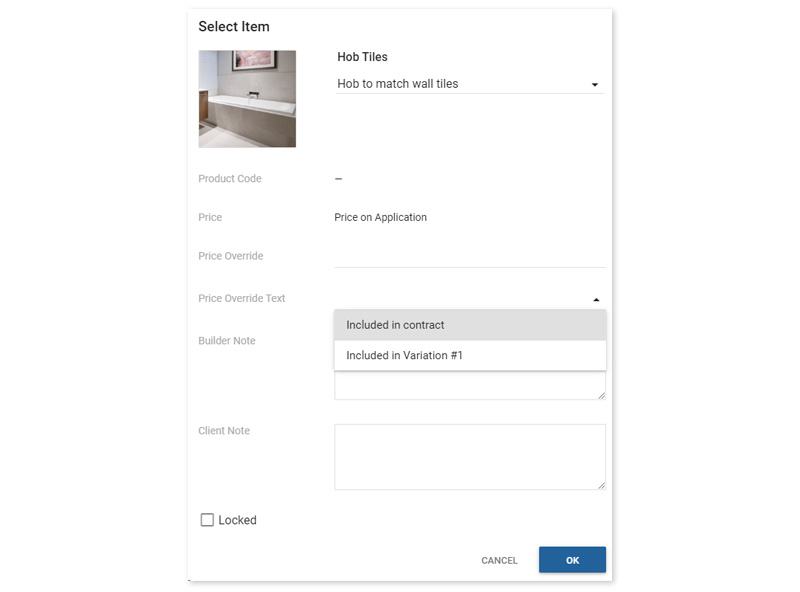
Improved Image Handling in Reports
When printing reports with images enabled, items without an image will no longer display an empty image placeholder. The image section will be omitted entirely, resulting in a cleaner and more professional report layout.
See example below of External Sills and Internal Brickwork:

Item Library Update Alert: As a result of improvements to image handling in reports, we’ll be making changes to the “Other” and note-type items by removing their associated icons. This update will help streamline your reports and reduce visual clutter, as these placeholder icons are now redundant and no longer necessary.
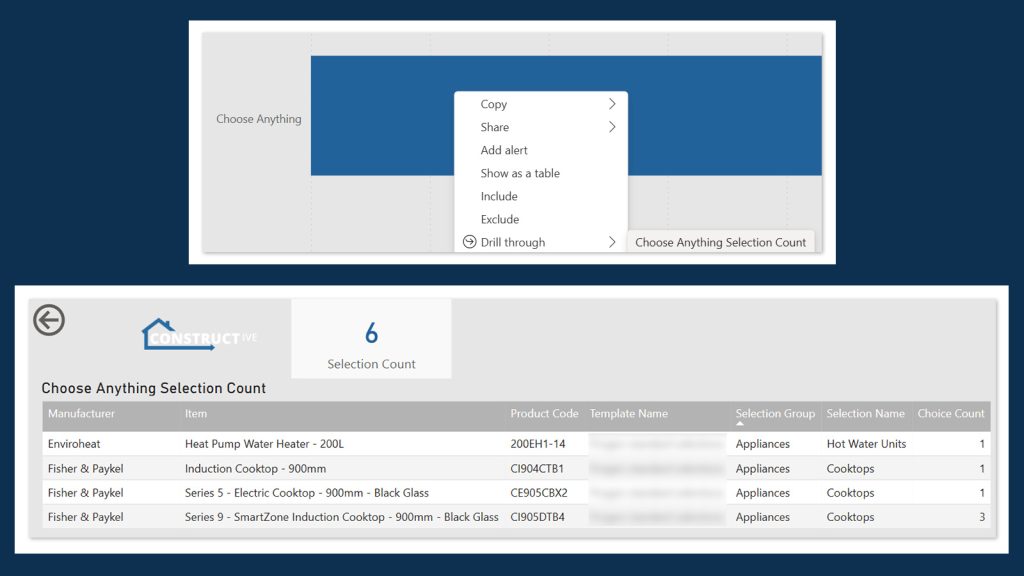
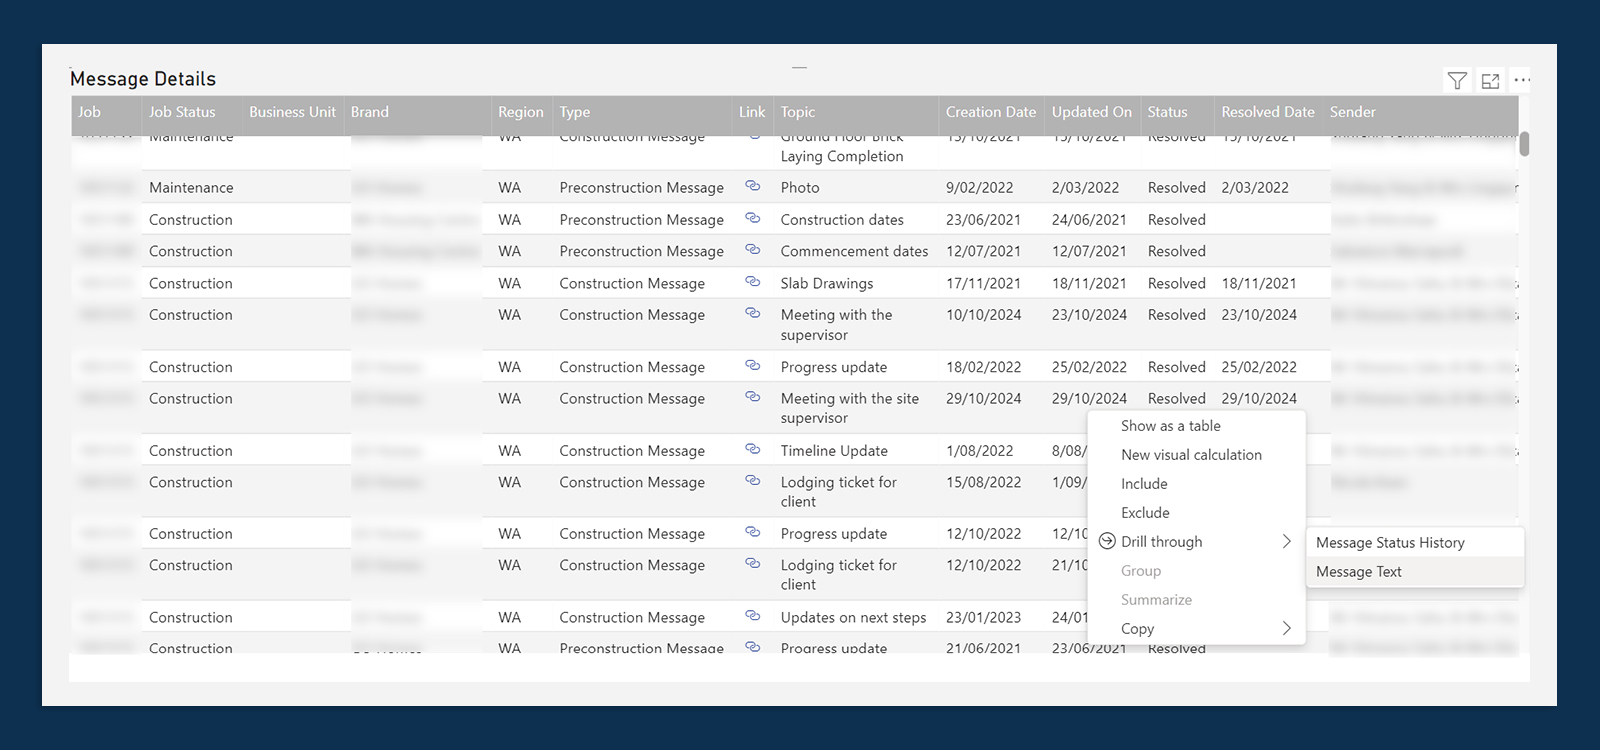
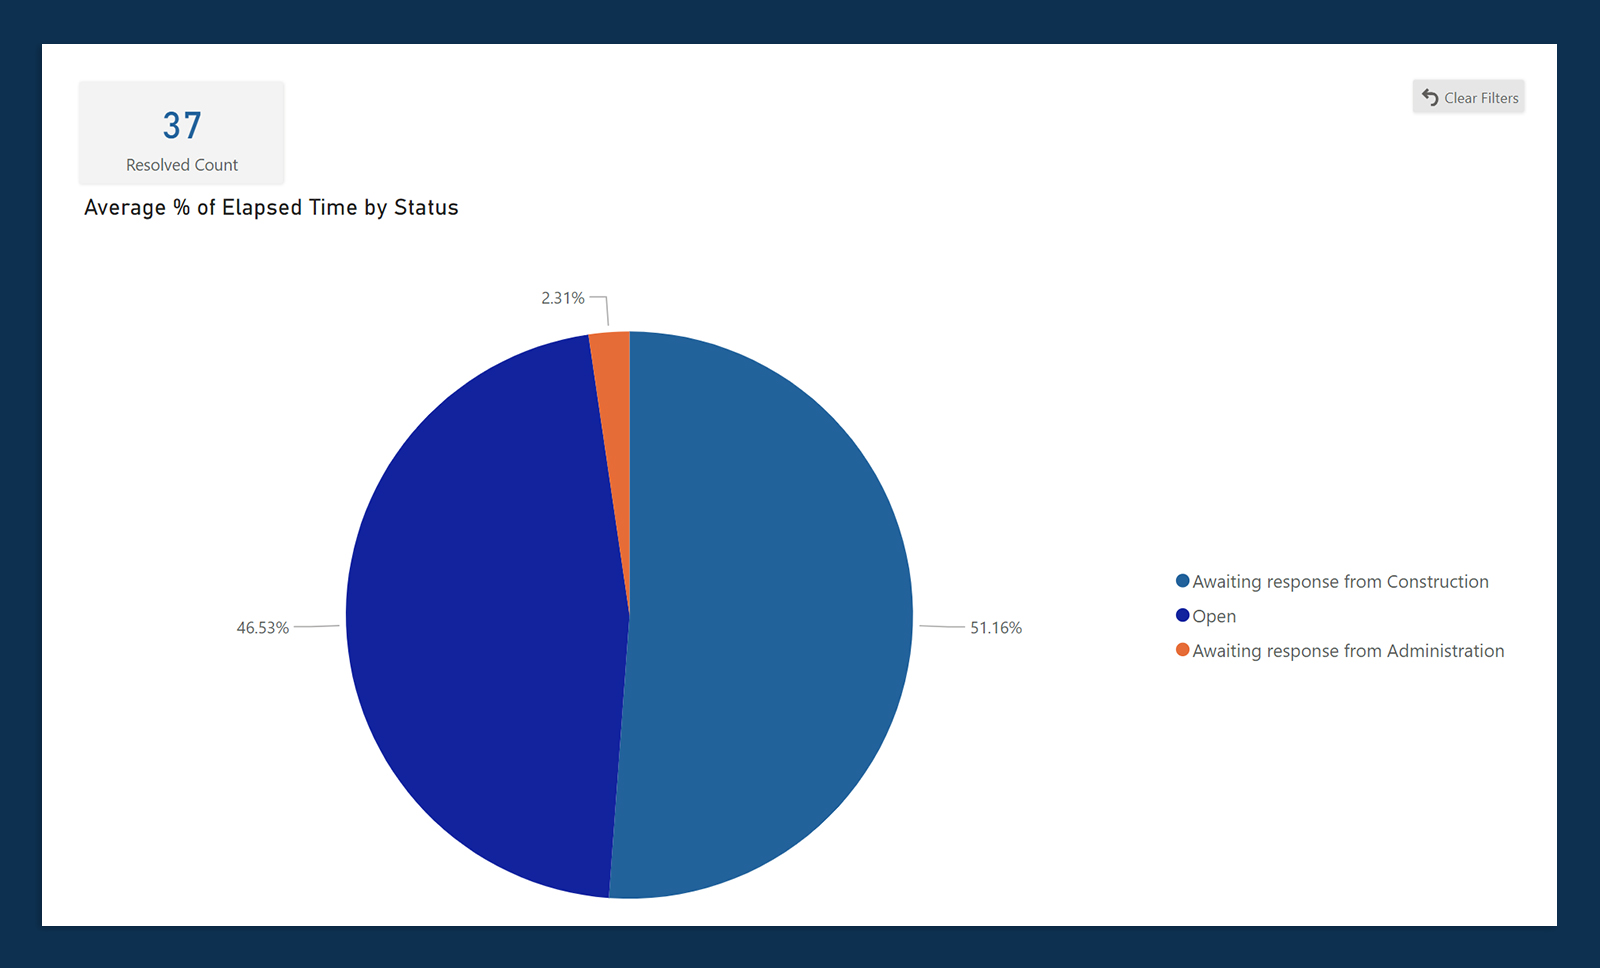
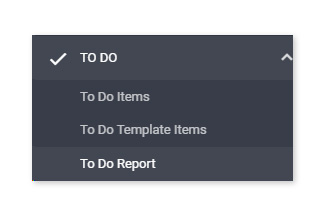
Intelligence Reporting in Constructive
We’re bringing the power of intelligence reports to all users inside Constructive Admin pages and have started by shifting the existing reports for ease of access, see below. Stay tuned for the significant benefits of this new feature – coming soon.

Performance Enhancements
As always, we’ve resolved several bugs to improve overall performance and stability.
-
3D – Improved 3D Walkthrough Controls and navigation.
-
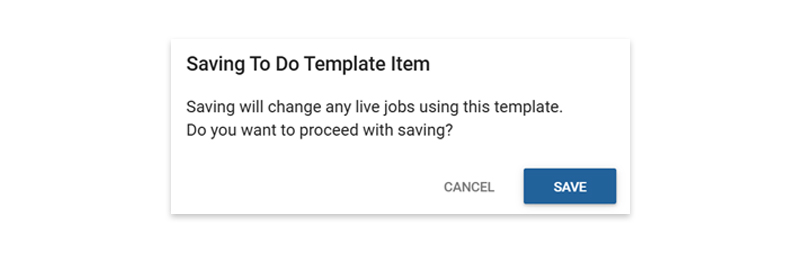
Contract Administrators can now complete To Do tasks without receiving an “Access Denied” error.
-
You can now duplicate (copy/paste) a 3D model
-
Clients have the ability to duplicate (copy/paste) a 3D model.
-
Removed an unnecessary click to improve efficiency – the ‘Reload Selections’ screen will default to untick of ‘Recalculation of Prices’
-
All To Do’s can be completed from the ‘Edit’ Screen with fewer clicks to load/save, and the ability to put the same date for ‘completion’ and ‘submitted’ fields has been added.
If you have any questions or want help navigating the new features, our team is here to support you.

Delivering excellent customer experience
We integrate with workflow systems
“Double-handling of client and construction data is a thing of the past. Constructive Software seamlessly integrates into key data points of BusinessCraft, enabling us to communicate in real-time to our clients: Documents, photos, Milestones and more.”
Fabio Fusari, IT Manager – Summit Homes.